Sunday, September 21, 2014

Sewing 101: Tools for Your Sewing Kit

Continuing with beginner sewing, I thought I'd share some useful tools to incorporate into your sewing kit.

They fall into 4 categories:

1.) Cutting - Local fabric stores frequently promote this category for 40-50% off, so wait for a sale!

  • Scissors - sharp blades are a must to cut cleanly through your fabric (especially temperamental ones like chiffons).  I've been using Fiskars Razor-Edge Shears.  
  • Rotary Blade - as with scissors, a good quality blade is required to cut your fabric well.  I tried a cheapie once and it would fray the fabric before cutting through.
  • Rotary Mat - necessary for your rotary blade and helpful for measuring as well
  • Straight Edge - any hard ruler will work to be used in conjunction with your rotary blade and mat

2.) Measuring

  • Soft measuring tape (not pictured) - great for taking your body measurements (measuring tips here) and for fabric
  • Regular (hard) ruler - handy for pattern drafting (I use it to draw in waist lines etc.)

3.) Fixing

  • Small screwdriver & brush - (should come with your sewing machine) The screwdriver will be needed for changing out your sewing needles and the brush will clean the lint from the inside of the machine.
  • Seam ripper - this is probably the hardest working tool you'll have.  I've probably spent more time ripping things apart than sewing them together!
  • Tweezers - useful for digging lint out of your machine or knotted threads when the machine jams

4.) Sewing (most feet also come with your sewing machine)

  • Zipper Foot - for zipper insertion, but I also use it for blind hems (tutorial here) (silver foot at the bottom of the photo)
  • Standard Foot (not pictured) - for all-purpose / general sewing 
  • Buttonhole Foot - this nifty one holds your button on one end and provides the machine the exact length needed for your buttonhole (long white foot at the bottom of the photo)
  • Thread (not pictured) - get the basics (black, white, cream, and navy) and then fill in as needed.  Beware of reds and greens!  I always wind up getting the wrong shade so try bringing a swatch when possible. 
  • Bobbins (not pictured) - I'd recommend getting 10+ (I have about 20) so you're not always trying to switch out thread colors

Sewing Kit Items

Other "getting started" posts:

1.)  Materials & Tools
2.)  Sewing Tasks
Hope this was helpful!

Sunday, September 14, 2014

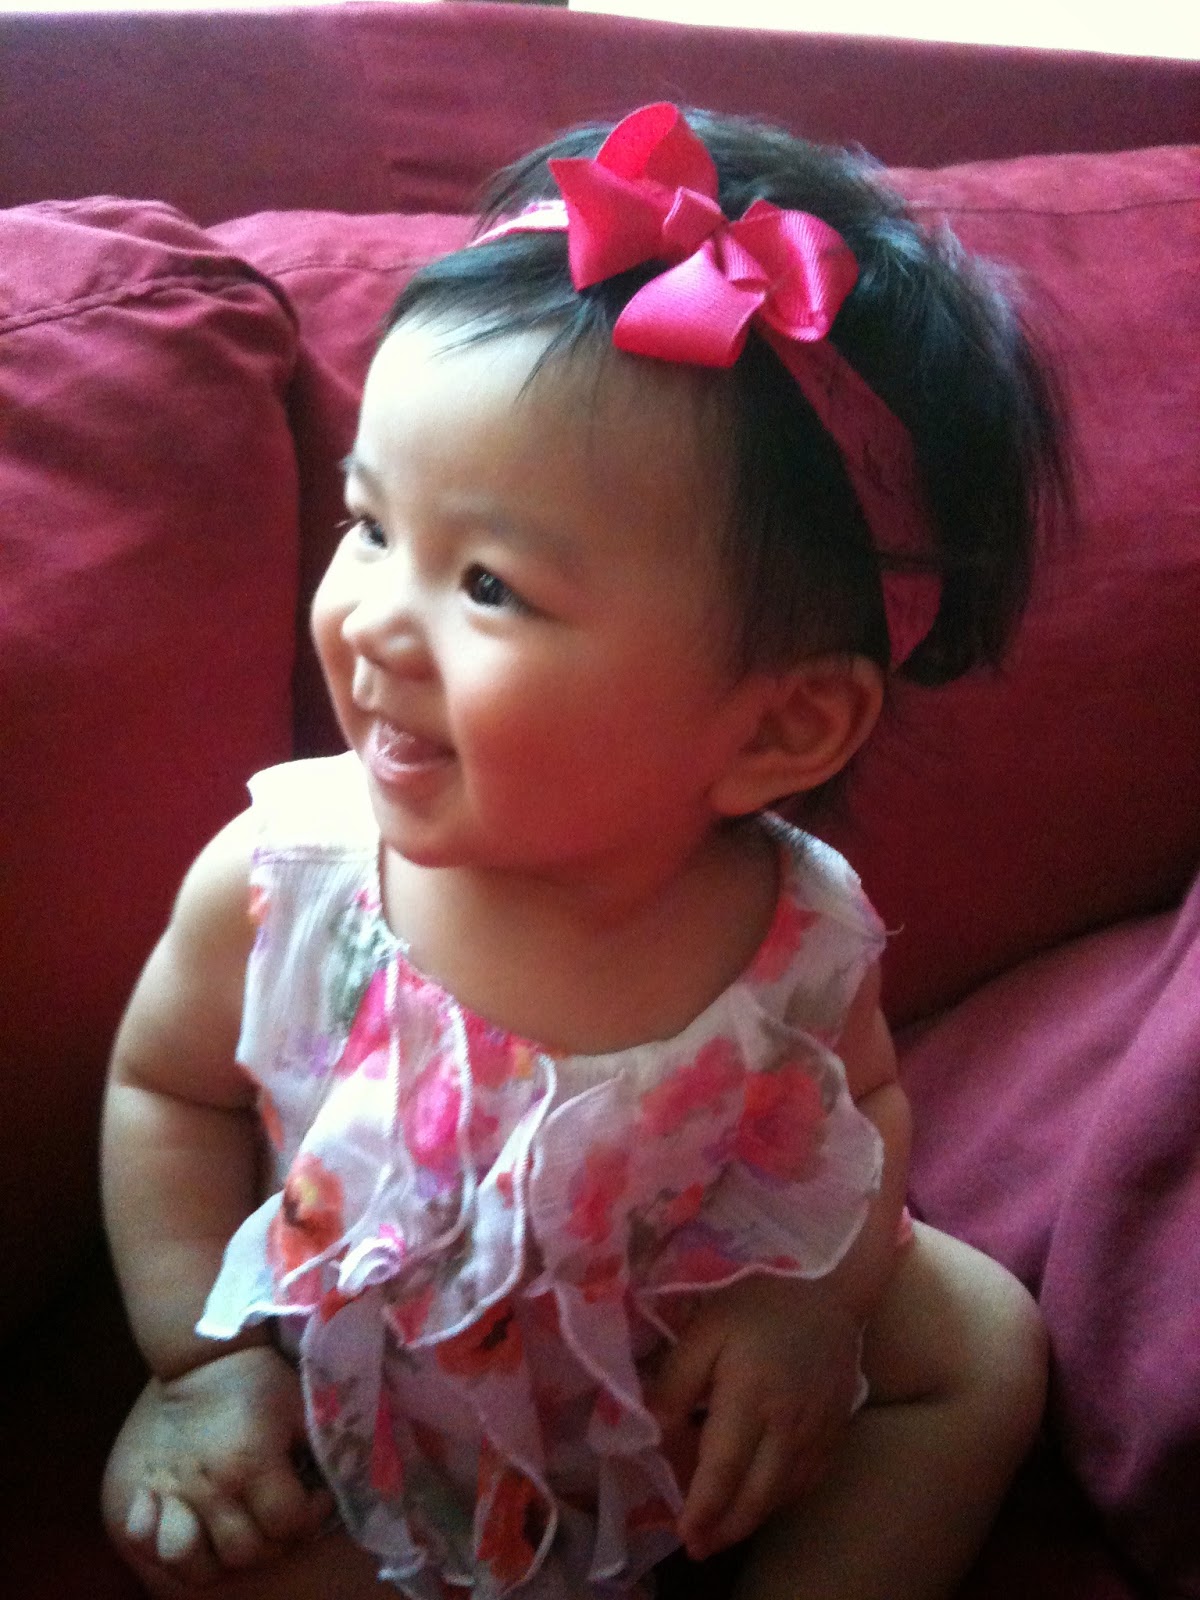
And "Baby" E Turns 3

E's birthday is actually tomorrow, but we celebrated all weekend with her favorites: 1.) Chuck E. Cheese and 2.) the beach.

My favorite little girl in the world


The beach was COLD, but she still had a blast:
The sandcastle before she leveled it Godzilla-style


Back to regularly scheduled DIYs soon!  Hope everyone had a wonderful weekend!

Wednesday, September 10, 2014

Mini Reunion Pt 2: SF / SJ Eats

If you ever have the opportunity to visit Yosemite, I would highly recommend going on the Moonlight Tour.  They drive you through the Valley on an open-air tram, serve you hot chocolate, and show you the most stunningly beautiful sights.  I was awestruck throughout the entire 2 hours.  I wish I had pictures to show you, but my phone was sorely inadequate at nighttime photography.  I think Cee captured some good pics though!

The next day, we proceeded back to the Bay Area for the eating portion of the visit.  Between the hours of 11am and 7pm, we visited a total of 6 eateries (Sonic for breakfast, Matcha Love, Paris Baguette, Mango Medley, Shanghai Dumpling King, and Hakka).  Though successful in eating many different things in one day, even I have to admit it may have been overly ambitious.  We were so STUFFED.

Matcha Love 
Triple Ice (Sesame, Matcha, and Vanilla soft serve in a waffle bowl), and Hoji-cha Boba
My favorite ice cream was the Sesame.  Have you ever had that black sesame dessert?  Same concept here and it was delicious.  The Hoji-cha had a nice roasted / nutty flavor, but the boba was on the bland side.

Clockwise from the top: Mango Medley Delight, Banana & Coconut Ice Cream Pillows, Mango Sticky Rice, and Mango Panna Cotta Bowl
Perfect as usual - I will never tire of this place!  I'm adding the Mango Sticky Rice to my regular ordering rotation now.

More pictures on instagram here and here.  Part 1 photos here.

And then sadly it was over.  The children are still asking where Elle and Cee went.  They made quite the impression!

Monday, September 8, 2014

Mini Reunion: Girls' Trip to Yosemite

Some snaps from my weekend camping trip to Yosemite with Elle & Cee.  Will write a proper post soon!  :)

Tunnel View, Yosemite

Taking a picture of Cee taking a picture of Elle :)

Elle & Cee - Mariposa Grove

Marveling at the California Tunnel Tree


Hope everyone had a wonderful weekend!

Thursday, September 4, 2014

Sewing 101: Your Sewing Machine

A few of you expressed interest (thank you for the feedback!) in more beginner sewing posts.  To get started, let's go over some basics of a sewing machine.  Please note that these are all my personal opinions based off of my experiences as a sewing hobbyist.  I am by no means an expert of any sort.


General cost:
$100ish, mine cost $130 shipped from Amazon (Singer Heavy Duty 4423 Sewing Machine [affiliate link])

What to look for:
I tend to look for good reviews and then look for features that suit me well.  In my case, I wanted a basic machine that would be durable and able to handle thicker fabrics.  The Singer Heavy Duty mentioned above met those needs for a great price point.  I was particularly drawn to the fact that it had a metal frame.  My previous machine was a cheapie plastic one from Walmart and it was horrible.  For about $30 more, I felt like I got more than my money's worth with the quality of the machine.  Another benefit?  Drop in bobbin and simple button-hole process.

Sewing Machine Basics:
Nowadays, most sewing machines come labeled with numbers and illustrations on how to thread.  This is probably one of the first steps you'll take.

After threading, you'll want to set your stitch length (top knob) and stitch type (bottom knob).  For most clothing sewing, you'll use a stitch length of 2.5.  The smaller the number, the shorter your stitch.  Small stitches have the benefit of lending strength to your sewing, but it takes longer to sew, it uses up more thread, and they are a pain to rip out.  Longer stitches (like a setting of 4) are great for trial sewing like try-ons or for use in gathering, but the stitching is too loose / weak to keep things together long-term.

For the stitch type, the straight stitch will be your go-to.  Other stitches commonly used are zig zag for knits, the shark-tooth one (yeah, I use super technical terms) for blind hems, and the button-hole one (looks like a rectangle to the left of the straight stitch) for...well...button holes.  :)

Do you see the Reverse button at the bottom left?  Press down on this to stitch in reverse.  I use this to reinforce stitching at the beginning or end of a seam.

Right above that is a tension knob.  I can't say I've had to use this often, but here's a wiki in case you need it.

To the right of the tension knob is the needle position knob.  I primarily use this for zippers or adjusting my seam allowance.  For narrow hems, I'll use the rightmost setting.  I generally keep the needle position in the middle for the majority of my sewing.

Once you know your way around the basics of a machine, start sewing simple projects like pillows or scarves.

I hope this post was helpful!  Please let me know if you have any questions!